Sorry this took a while for me to get around to. I have not made these yet. Maybe when my grand daughter is older we will make them together. Sure looks like a fun thing to do with children.
~~~~~~~~~~~~~~~~~~~~~~~~~~~~
Fruit RollupsCopyright 2001 by Kathryn Martinez
Making your own fruit roll ups is easier than you would think. Fruit Roll-Ups is actually a commercial name for a disappearing practice of food preservation called fruit leather. You might ask, if I can save time and energy by buying them ready made in the store why bother?
The answer is that most fruit leathers that you buy in the store are more candy than anything else and have very little nutritional value. You can change that by making your own. It’s a great activity for using with a study on pioneering or nutrition, a way to avoid the junk food habit, or a simple trail snack for your nature hikes … or maybe your just looking for a way to use up that over ripe fruit.
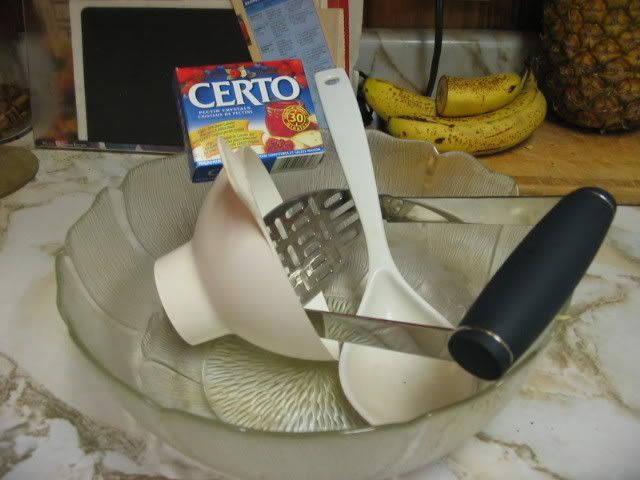
SUPPLIES:
Fresh, canned, or frozen fruitBlenderNon-stick baking sheets*Non-stick baking spray (e.g. PAM is a commercial brand)
DIRECTIONS:
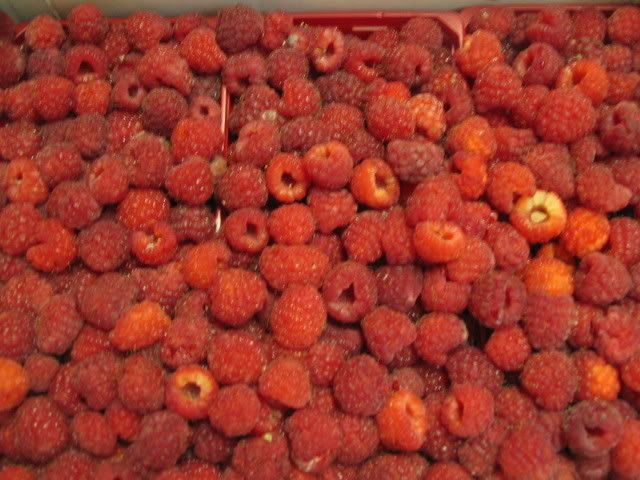
1. Wash and prepare fruit.
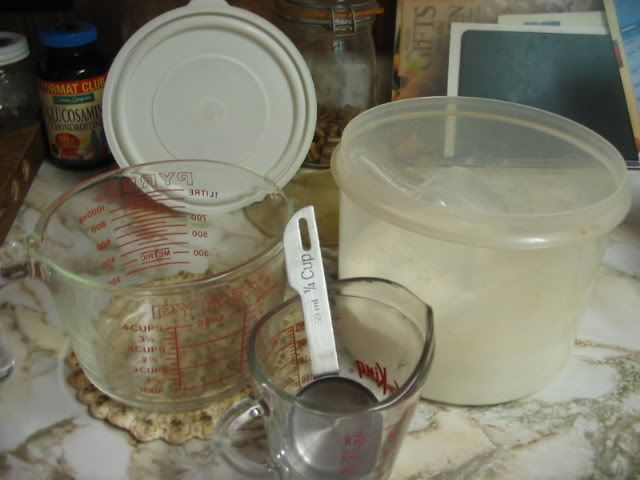
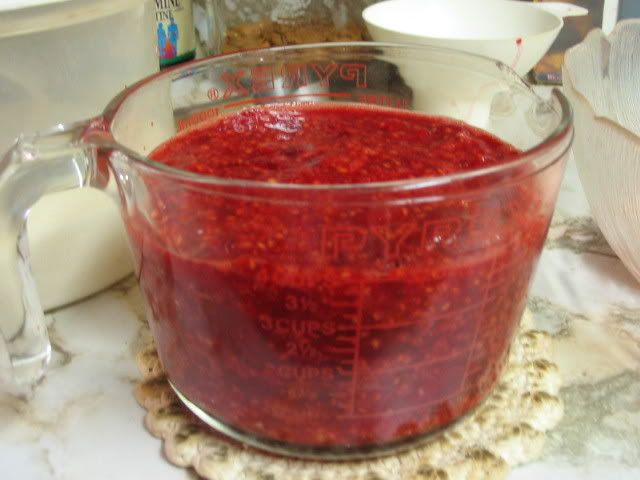
2. Puree fruit in blender until it is very smooth. To make a leather that is 18 inches x 14 inches x ¼ inches, you will need about two and a half cups of puree.
3. Add as little water or juice as possible when pureeing.
4. You may now add any sweetening or spices … but beware, the more liquid in your puree, the longer it will take to dry. You don’t have to use processed sugar for sweetening; try honey, cane syrup, molasses, maple syrup, brown sugar, etc. (See below for more ideas on flavorings and spices).
5. Lightly spray the baking sheet with non-stick spray.
6. Pour the puree onto the prepared sheet.. Slightly tilt the tray to spread the puree around evenly. You could also make 4 to 6 inch size pancake shapes instead of one huge sheet.
7. At this point, you make garnish your leather if you desire (see below for variations).
8. Preheat your oven to about 150 degrees (no higher as you will cook the fruit rather than dry it). Note: below is an option if your fruit leather dries too long that is really good.
9. Put your baking sheet in the oven and prop the oven door open. The drying is going to take a long while … the time depends on how much moisture is in your puree.
10. Remove the leather from the sheet while it is still warm and roll it up. Or, before you roll it up you could spread a filling on the leather and then roll it, this makes for a great variation and suggestions can be found below.
STORAGE: For very short term storage of about a week, cut the rolled leather into bite sized pieces, lightly dust with cornstarch, and wrap in plastic wrap. And then store the plastic wrapped bites in air tight storage containers. Store in a cool, dry, dark place such as a pantry. For longer storage, store the prepared bite-sized rolls in air tight storage containers and store in refrigerator or freezer. Rolls that contain nuts or coconut need to be stored in the freezer.
FRUIT LEATHER CHIPS: If your fruit leather dried too long it may become brittle and crack as you try to peel it off the baking sheet. Don’t despair about wasted effort and wasted fruit … this can be turned into a good thing! You can crush this and use it as toppings for ice cream, yogurt, milk shakes, or hot breakfast cereals … even cold breakfast cereals get a tasty boost from this. These chips can also be reconstituted and used as baby food or in baby cereal … just make sure that you’ve soaked or crushed the chips enough so that there are no sharp edges left.
VARIATIONS: Spices – allspice, cinnamon, cloves, coriander, ginger, mace, mint, nutmeg, pumpkin or apple pie spice blends.Flavorings – almond extract, lemon extract or juice or peel, lime juice or peel, orange extract or juice or peel, vanilla flavoring, etc.Garnishes – shredded coconut, chopped dates, chopped dried fruit, granola, miniature marshmallows, chopped nuts, chopped raisins, sunflower or poppy or sesame seeds, etc.Fillings – melted chocolate, softened cream cheese, processed cheese spreads, fruit fillings made from jams or jellies, marmalade, marshmallow cream, peanut butter, etc.
*I’ve given you directions for drying fruit in an oven; however, you can sun dry fruit as well (just figure out a way to keep the insects off of it until it is completely dried. Or, you can use a dehydrator. Not too long ago, people would get these as wedding gifts as often as they used to get fondue pots. You can sometimes find these at yard sales when people get tired of them taking up cabinet space. I have one myself and have found it very useful that was inexpensively purchased from a major discount store chain. The plus of using a dehydrator is that your foods will dry quicker thereby retaining more nutrients … and you are less likely to over dry them.